To get started with mobile app development with Flutter and Dart, install the Flutter SDK, learn the core Dart syntax, build a small app from widgets, then add data, tests, and a store release. One codebase produces both the Android and the iOS version. You can have a first app running on an emulator within an afternoon.
The hard part is rarely the code. Beginners find dozens of courses, videos, and PDFs that each start in a different place, and toolchain errors appear before a single line runs. Many people stall at setup, or collect tutorials without ever shipping anything.
This guide fixes the order. You get a short grounding section, then four steps with commands and code you can paste. Eagle Technologies builds cross-platform apps with Flutter for clients, so the path below sticks to what matters in real projects, not a syllabus.
Why Flutter and Dart suit first-time app builders
Flutter suits beginners because one Dart codebase ships to Android and iOS, and hot reload shows each change in your running app within seconds. That tight feedback loop makes learning faster than in most mobile stacks.
What Flutter and Dart each do
Flutter is Google's open-source UI toolkit. Dart is the language you write it in. Flutter draws its own interface with its own rendering engine instead of wrapping native components, so your screens look the same on both platforms.
Dart is typed, null-safe, and easy to read if you have touched Java, C#, Kotlin, or JavaScript. You do not need mobile experience, but you do need basic programming ideas such as variables, loops, and functions.
One Dart codebase, two store-ready apps: that is the whole reason to learn this stack.
What you need before you start
Your operating system decides which platforms you can build for. Check this table before you install anything.
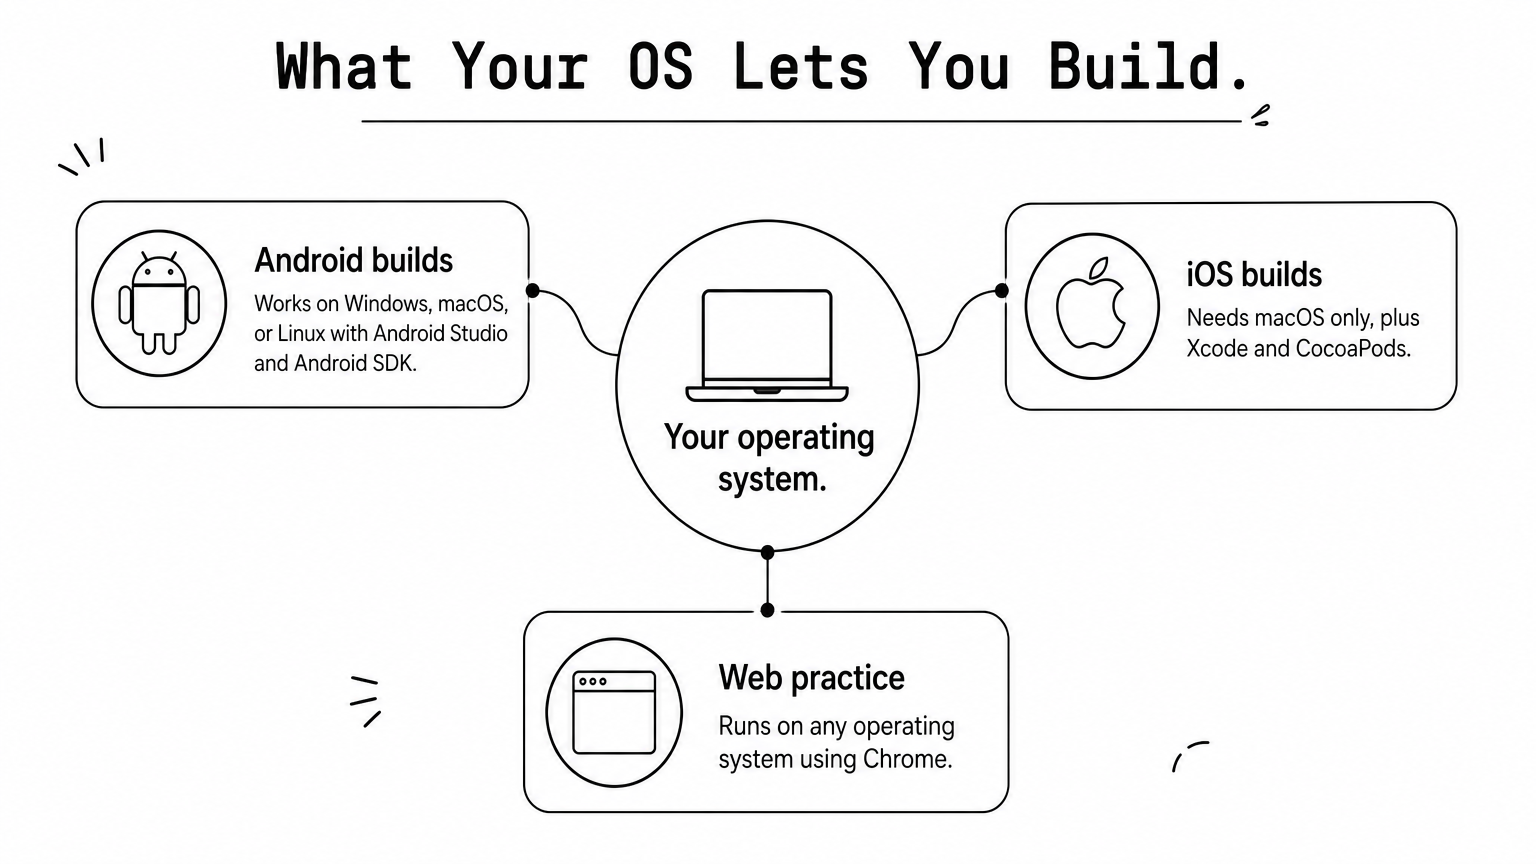
| Target | Operating system | Tools you need |
|---|---|---|
| Android | Windows, macOS, or Linux | Android Studio, Android SDK |
| iOS | macOS only | Xcode, CocoaPods |
| Web (for quick practice) | Any | Chrome |
Without a Mac you can still learn everything in this guide. Build for Android and web, and borrow a Mac later for the iOS release.
Step 1. Set up your Flutter environment
A working environment means three things: the Flutter SDK, an editor, and a device or emulator. flutter doctor tells you which one is missing.

Install the SDK and an editor
Download the SDK for your operating system from the official Flutter install guide and add its bin folder to your PATH. Then install VS Code with the Flutter extension, or Android Studio with the Flutter plugin. Either works. Pick one and stay with it.
Check the setup with flutter doctor
Open a terminal and run these commands in order.
flutter --version
flutter doctor
flutter create task_app
cd task_app
flutter run
flutter doctor lists every tool with a tick or a warning. The most common fix is accepting the Android licences with flutter doctor --android-licenses. When every line is green, flutter create builds the starter project and flutter run launches it on your emulator.
Keep the app running and press r in the terminal after a code edit. That is hot reload.
Do not write a line of code until flutter doctor is clean, because setup errors look like code errors.
Step 2. Learn the Dart basics you need
You do not need all of Dart for mobile app development with Flutter and Dart. Learn six ideas first and pick up the rest as screens demand it.
The Dart concepts to learn first
- Variables and types:
finalfor values that never change,varor an explicit type for those that do. - Null safety: a type like
String?can be null, and??supplies a fallback. - Functions: including the short
=>arrow form. - Collections:
List,Map, andSet. - Classes: constructors, fields, and named parameters.
- Async code:
Future,async, andawait, which you will use for every network call.
The Dart language documentation covers each one, and DartPad at dartpad.dev runs Dart in your browser with no install.
Practice with a short program
Paste this into DartPad and change it until you can explain every line.
class Task {
  Task(this.title, {this.done = false});
  final String title;
  bool done;
}

Future<List<Task>> loadTasks() async {
  await Future.delayed(const Duration(seconds: 1));
  return [Task('Write Dart'), Task('Build UI')];
}

void main() async {
  String? nickname;
  print(nickname ?? 'No nickname');
  final tasks = await loadTasks();
  print('${tasks.length} tasks loaded');
}
It uses a class, a nullable type, a Future, and string interpolation. That is most of the Dart a first app uses.
Spend days on Dart, not weeks: the language is small, and Flutter teaches you the rest in context.
Step 3. Build your first app with widgets
Your first Flutter app is a tree of widgets. Build a task list and you will touch layout, input, lists, and state in about 60 lines.
Think in widgets
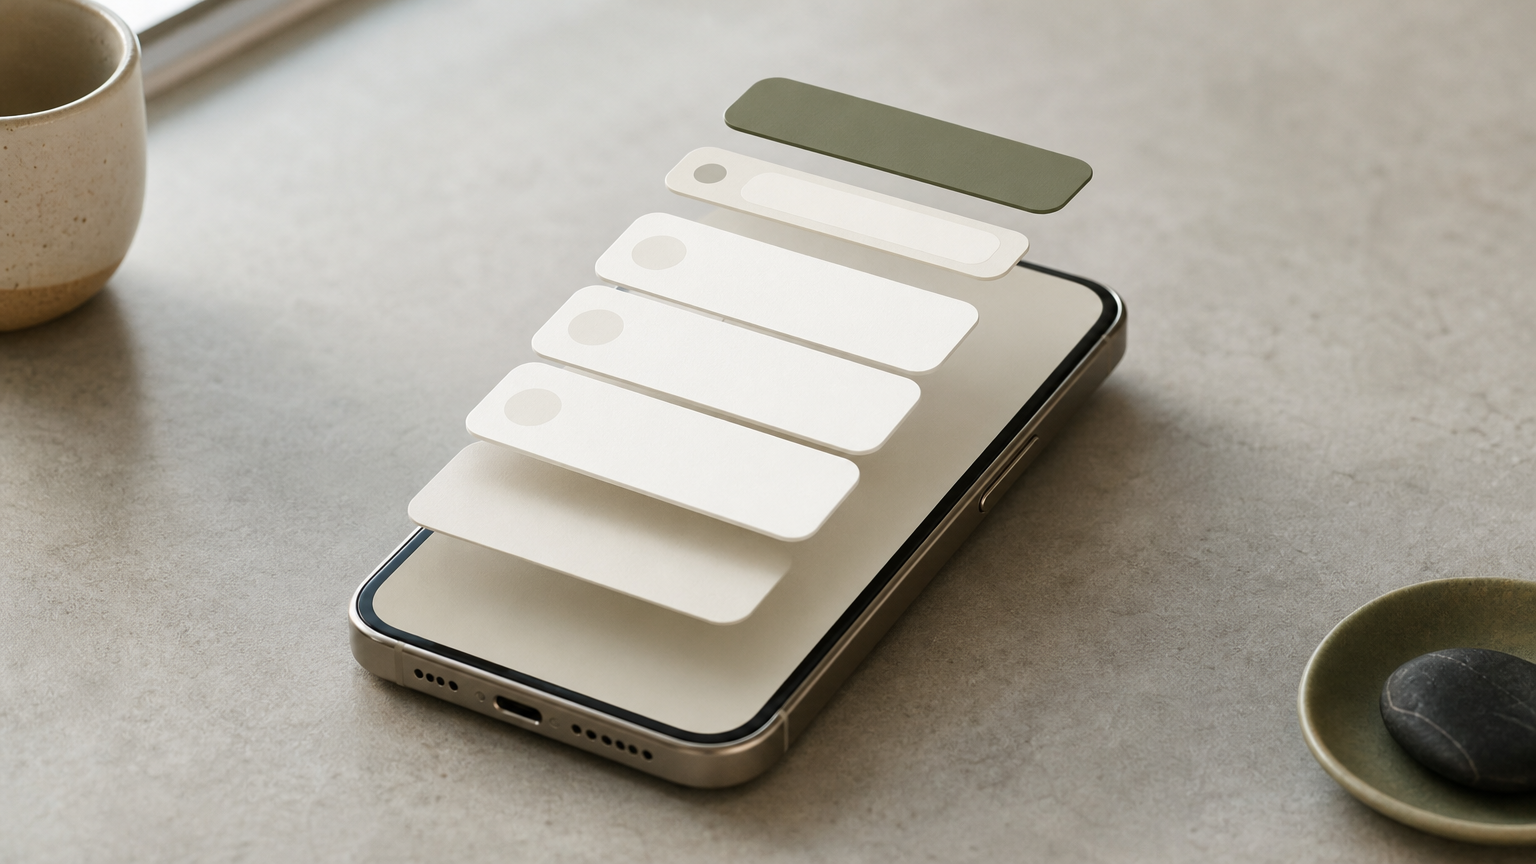
Everything on screen is a widget: text, buttons, padding, even the app itself. A StatelessWidget never changes after it is drawn. A StatefulWidget holds data that can change, and calling setState redraws it. Complex screens are small widgets nested inside bigger ones.
Build a task list app
Replace the contents of lib/main.dart with this code and run it.
import 'package:flutter/material.dart';

void main() => runApp(const TaskApp());

class TaskApp extends StatelessWidget {
  const TaskApp({super.key});

  @override
  Widget build(BuildContext context) {
    return MaterialApp(
      theme: ThemeData(colorSchemeSeed: Colors.indigo, useMaterial3: true),
      home: const TaskScreen(),
    );
  }
}

class TaskScreen extends StatefulWidget {
  const TaskScreen({super.key});

  @override
  State<TaskScreen> createState() => _TaskScreenState();
}

class _TaskScreenState extends State<TaskScreen> {
  final List<String> _tasks = [];
  final TextEditingController _controller = TextEditingController();

  void _addTask() {
    final text = _controller.text.trim();
    if (text.isEmpty) return;
    setState(() => _tasks.add(text));
    _controller.clear();
  }

  @override
  void dispose() {
    _controller.dispose();
    super.dispose();
  }

  @override
  Widget build(BuildContext context) {
    return Scaffold(
      appBar: AppBar(title: const Text('My tasks')),
      body: Column(
        children: [
          Padding(
            padding: const EdgeInsets.all(16),
            child: Row(
              children: [
                Expanded(child: TextField(controller: _controller)),
                IconButton(onPressed: _addTask, icon: const Icon(Icons.add)),
              ],
            ),
          ),
          Expanded(
            child: ListView.builder(
              itemCount: _tasks.length,
              itemBuilder: (context, i) => ListTile(title: Text(_tasks[i])),
            ),
          ),
        ],
      ),
    );
  }
}
Column and Row handle layout, Expanded shares space, and ListView.builder draws only the rows on screen. Try adding a delete button to each ListTile. Changing working code teaches more than reading it.
If a screen feels complicated, split it into smaller widgets before you add more code.
Step 4. Add data, test, and publish
A real app needs data that survives a restart, a few tests, and a signed release build. Add them in that order, and do one trial release early.
Add data and state
Once setState spreads across many widgets, move to a state management package. Match each need to a common, well-supported option.
| You need | Common option |
|---|---|
| Call a web API | http or dio package |
| Save small settings | shared_preferences |
| Store structured data locally | sqflite or Drift |
| Share state across screens | Provider or Riverpod |
| Login and a hosted backend | Firebase |
Start with the simplest option that works. Most first apps need only http and Provider.
Test and build for release
Run your tests, then build the release files.
flutter test
flutter build appbundle --release
flutter build ipa --release
Google Play takes the .aab bundle, and the iOS build runs only on a Mac with Xcode. You also need developer accounts. Google Play charges a one-time $25 fee and the Apple Developer Program charges $99 per year, so check current fees before you plan. Upload a test build to internal testing early, because signing problems are easier to fix when no deadline is attached.
Keep learning with projects
Choose one structured course or the official Flutter documentation and codelabs, and build alongside it. Jumping between five tutorials is the most common reason beginners stay beginners.
Then build three apps of rising difficulty: a task list, an app that fetches and shows API data, and an app with login and a backend. By the third you will have met nearly every concept a client project needs.
Release is its own skill, so do one trial release early, not on launch day.
Start with one small app
The path is short: set up the SDK until flutter doctor is clean, learn six Dart ideas, build a widget-based app, then add data, tests, and a release. Mobile app development with Flutter and Dart rewards small, finished projects more than long reading lists, so ship the task list first and grow from there.
Some apps carry more risk than a learning project, such as a customer-facing product with a launch date. For those, talk to Eagle Technologies about your Flutter app. It starts with a free 60-minute strategy session that reviews your goals and tech stack, with no obligation.